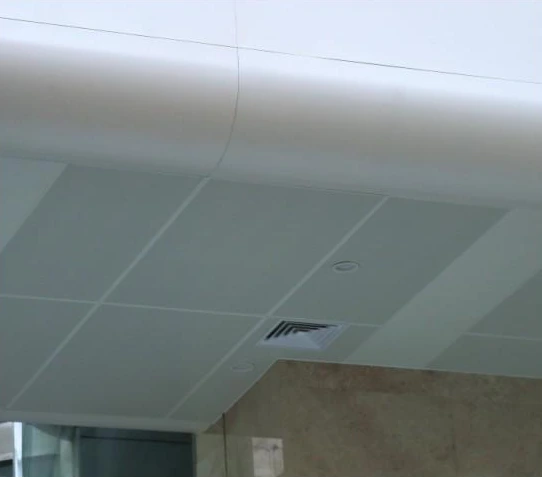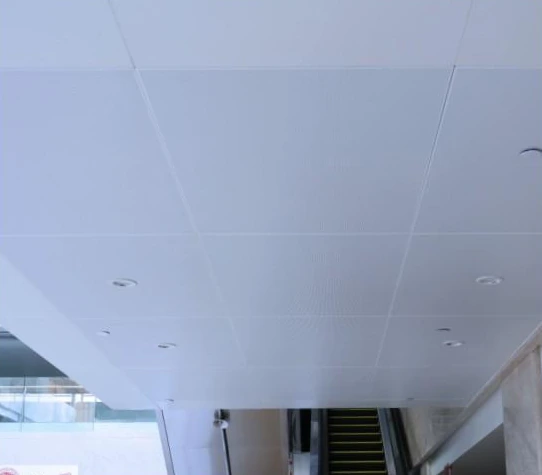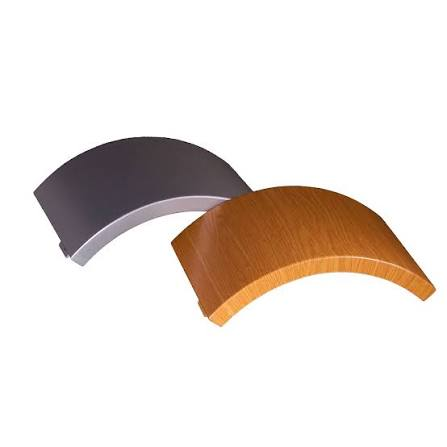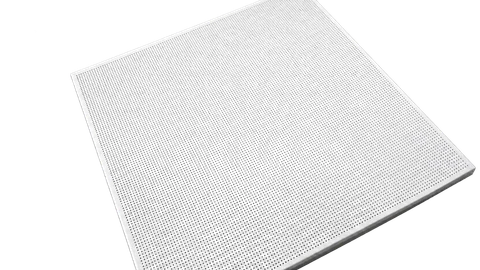
Close-joint panels — interlocking-edge method

Reading the Drawing
The elevation and enlarged sections show the panel sequence and interlocking bracket connection. The insertion arrows indicate the installation direction.
Numbered Component Key
Match each number to the label below. Dimensions shown on the drawing are in millimeters unless noted.
- Insertion direction
- Expansion anchor
- Do not screw-fix this bracket
- Countersunk self-tapping screw
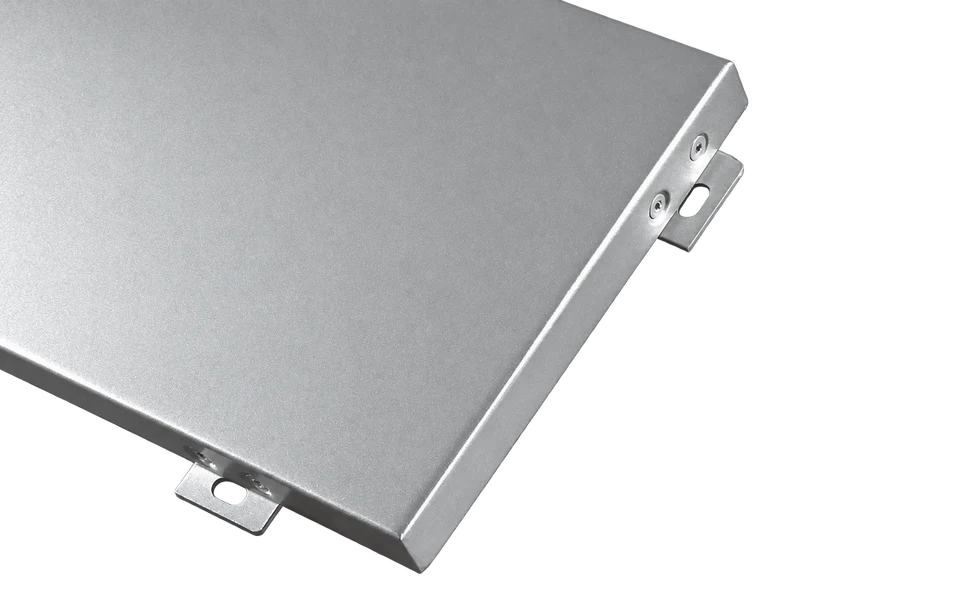
- Interlocking-edge aluminum panel
- Detail A
- Structural substrate
- Secondary framing
- Steel angle bracket
- M6 bolt
- Main framing
- Vertical module
- Horizontal module
- Framing height
Installation Steps
- Set out the carrier lines and finished panel face from the design drawings.
- Choose the installation direction and install the main and secondary square-steel framing to the panel grid. Check that the supporting face is flat.
- Follow the installation sequence shown: left to right and bottom to top. Insert each left-hand bracket between the adjacent panel return and the supporting frame. Fix the right-hand and upper brackets with countersunk self-drilling screws.
- Keep hands clean during installation. Avoid sweat, oil and other contamination on the finished surface.