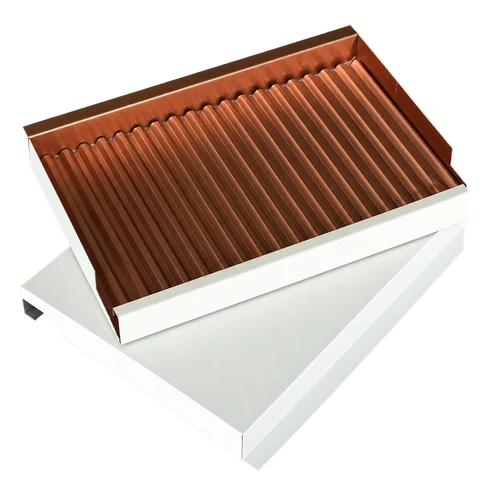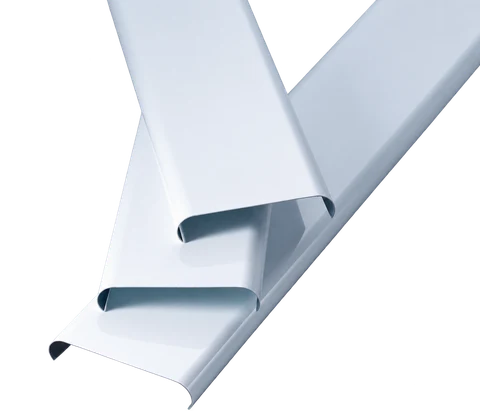
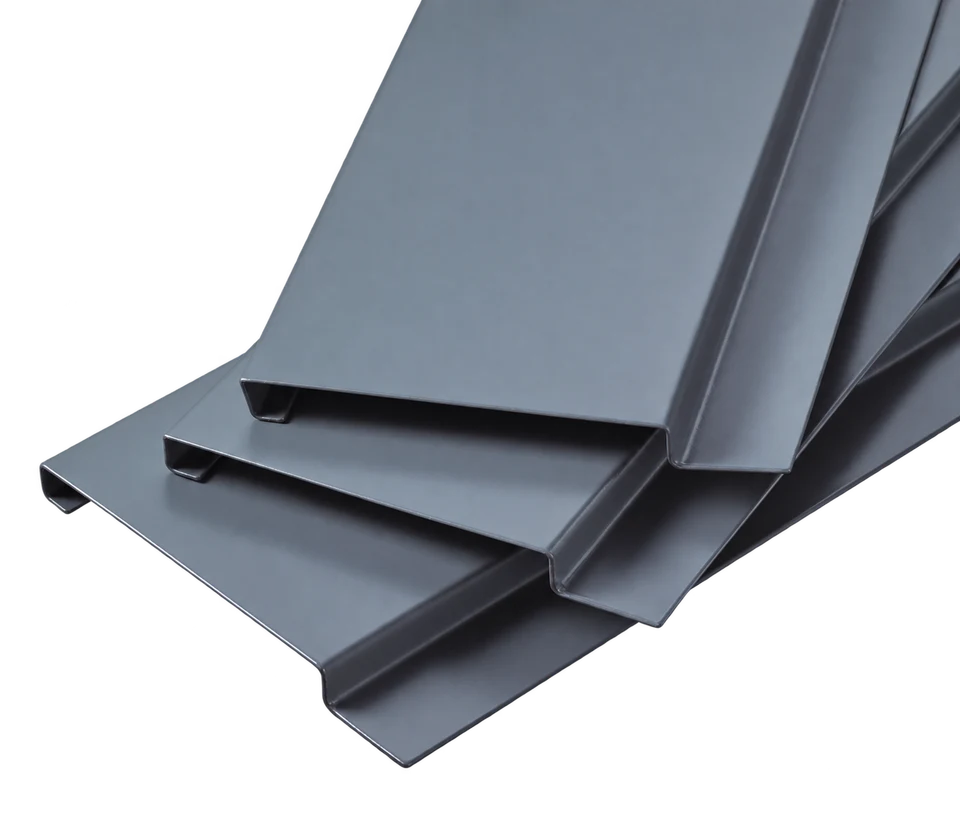
G-shaped strips with G-profile carriers

Reading the Drawing
G-carrier hangers connect the G-profile carriers to the main framework. The G-shaped strips clip into the matching carrier, forming the recessed joints.
Numbered Component Key
Match each number to the label below. Dimensions shown on the drawing are in millimeters unless noted.
- M8 galvanized hanger rod
- 38/50 main-carrier hanger
- G-profile carrier
- G-carrier hanger
- Width: 100 mm
- G-shaped strip
- Widths: 150 / 200 / 300 mm
- 38/50 main carrier
- Galvanized hanger rod
- Width
Installation Steps
Components: M8 galvanized hanger rods; 38/50 light-steel main carriers; G-carrier hangers; G-profile carriers; G-shaped strips.
- Measure the finished ceiling elevation from the design drawings. Mark the level line and fix the perimeter angle along the walls.
- Establish the installation direction. Drill suspension points in the structural ceiling at no more than 1,200 mm spacing and secure the galvanized hanger rods with expansion anchors.
- Fit the main-carrier hangers and light-steel main carriers. Adjust their height and level, keeping the carriers parallel.
- Use G-carrier hangers to connect the G-profile carriers to the main carriers. Level the secondary carriers; keep them parallel to one another and perpendicular to the main carriers.
- Fit the G-shaped strips into the matching secondary-carrier clips, working in one direction.
- Measure perimeter panels on site, cut them to fit and support their edges on the perimeter angle.
- Keep hands clean during installation. Avoid sweat, oil and other contamination on the finished surface.