Approve an aluminum finish as a repeatable specification: process, substrate, colour, gloss, texture, direction and visible-edge coverage. A photograph or colour name cannot define all seven. This guide explains how to approve a formed sample, use a four-panel mock-up and keep production batches consistent with the agreed appearance.
Separate the surface construction from the colour name
| Finish | How the visible surface is made | What to resolve before ordering |
|---|---|---|
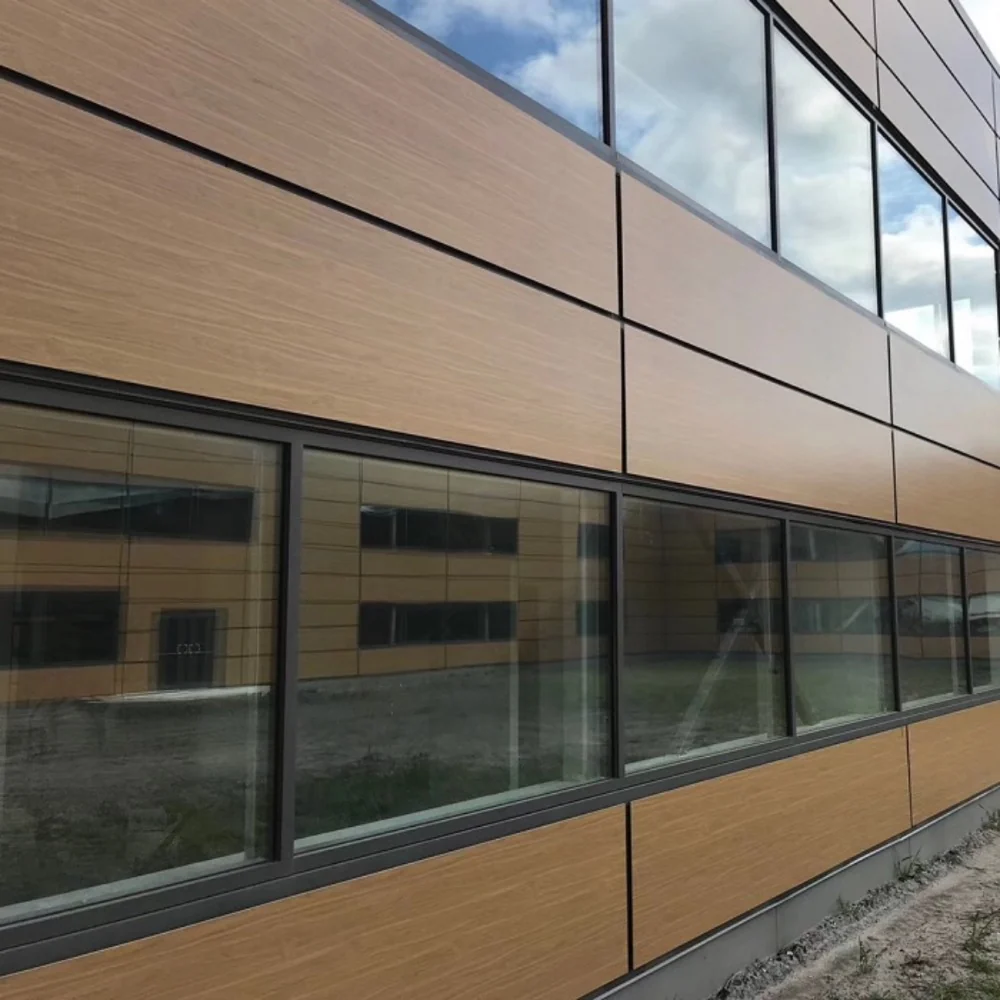
| Wood-grain heat transfer | A printed pattern is transferred onto a prepared coated surface using heat | Base coating, pattern code, grain direction, exterior/interior suitability and visible returns |
| Film-laminated metal | A separate decorative film is bonded to the metal surface | Film type, texture, adhesive system, edge termination and intended exposure |
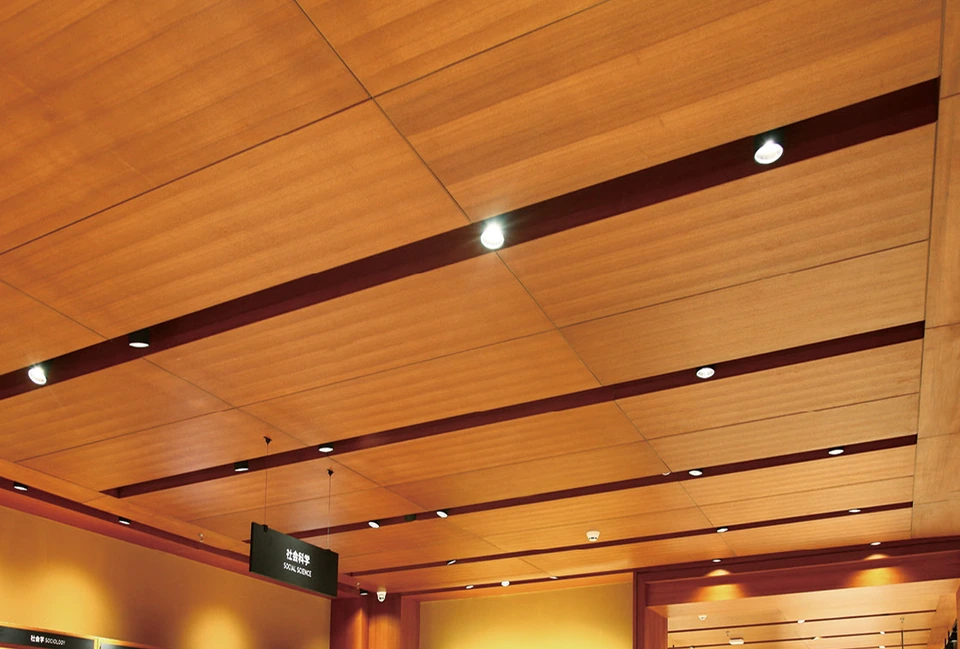
| Natural wood veneer | A thin layer of real wood is bonded to the panel construction and finished as specified | Species, veneer cut, matching arrangement, natural variation, sealer and edge treatment |
| Brushed anodized aluminum | Mechanical brushing establishes a direction; anodizing forms an oxide layer from the aluminum surface | Alloy, brushing direction, anodizing specification, colour range and sealing |
Anodizing is an electrochemical surface conversion, rather than a painted film laid over the metal. Brushing is a separate mechanical preparation. A specification for brushed anodized aluminum therefore needs both operations identified. The oxide finish can preserve the directional character of the underlying surface.
Choose for the exposure and cleaning regime
Write down where the panel will be used: an interior corridor, a sheltered entrance, an exterior façade or another defined location. Include expected moisture, sunlight and cleaning conditions. Then select a finish system with documentation for that use. “Wood grain” by itself gives the supplier no exposure requirement to work to.
For a frequently cleaned interior, agree the cleaning products and method with the finish supplier and test them on a retained sample. For an exterior finish, specify the required weathering evidence and warranty scope. A warranty should identify the finish, substrate, exposure and maintenance conditions, rather than appear as a general promise beside every colour.
Approve a representative panel, including its edges
A flat coupon is useful for an initial colour decision. The final approval should include the parts of the finished panel that customers will see: returns, corners, joints and directional surfaces. A folded wood-grain return can look different from the main face even when both use the same pattern.
For natural veneer, agree how adjoining leaves or panels are matched. Natural variation needs an accepted range, not an expectation that every panel will reproduce one small piece exactly. For printed wood effects, agree the repeat direction and whether the pattern continues across adjoining pieces or restarts at each panel.
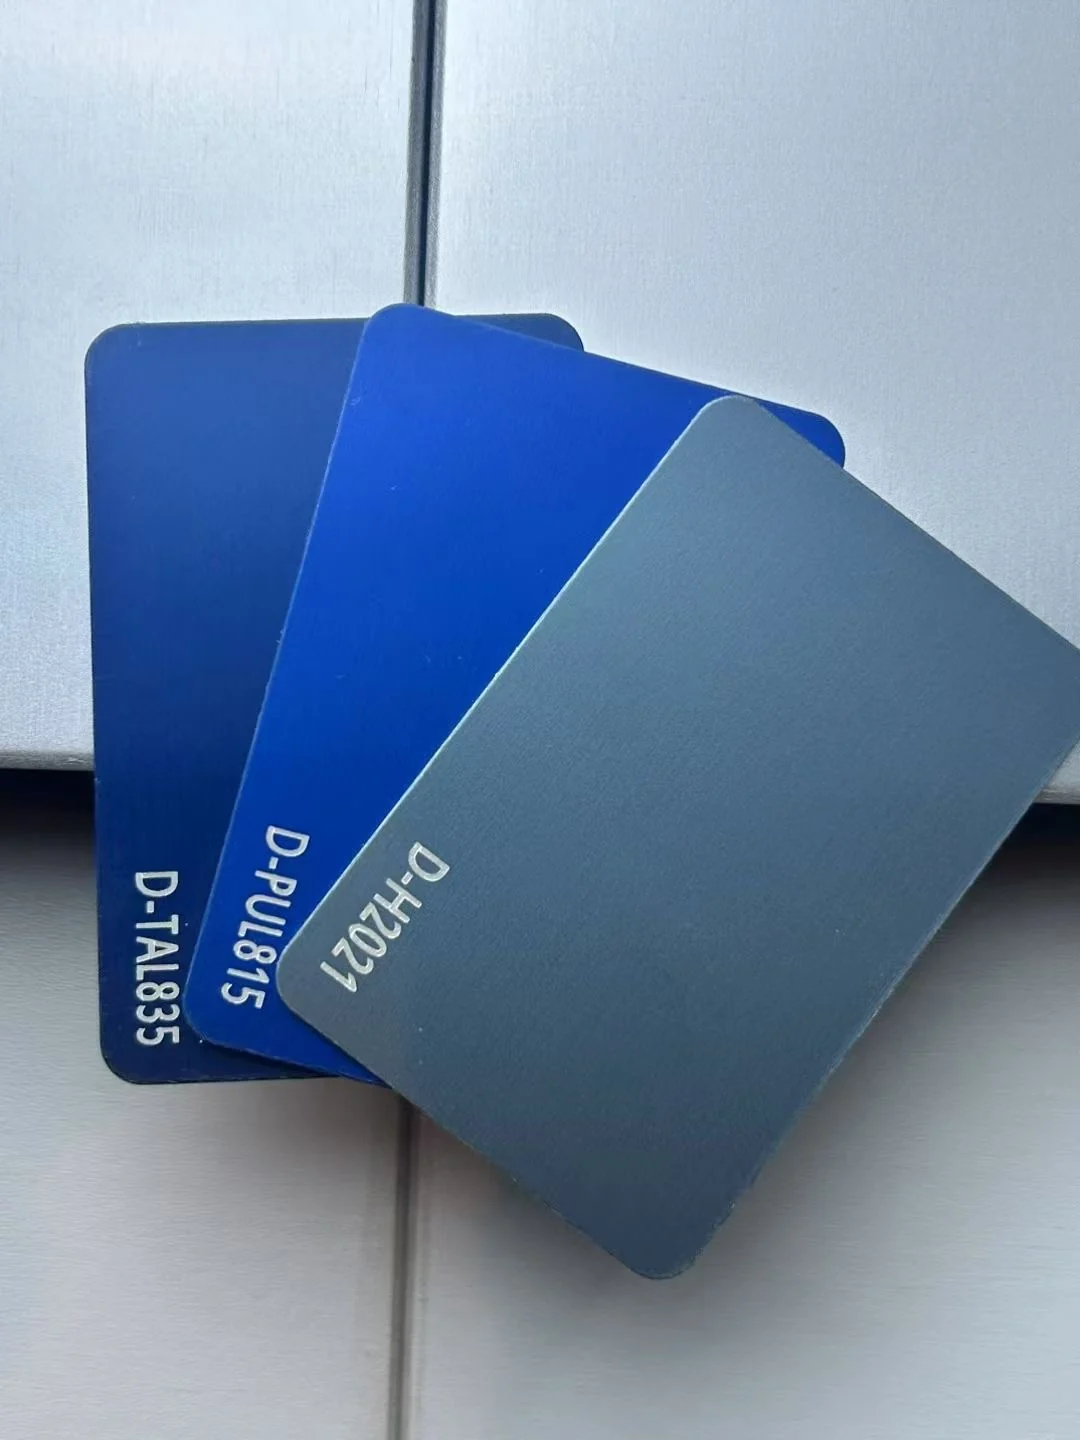
Use a finish approval record the inspector can follow
| Field | Entry |
|---|---|
| Sample identity | F-07 revision B; two retained samples for purchaser and supplier |
| Process and substrate | Selected heat-transfer, film, veneer or anodized system on the specified aluminum construction |
| Appearance | Colour/pattern code, agreed gloss, texture and accepted variation |
| Orientation | Arrow on the sample and panel drawing; relationship to the installed vertical or ceiling direction |
| Extent | Visible face, exposed returns, edges and any back coating |
| Acceptance | Agreed viewing conditions and specified instrumental tests, methods and limits |
Assess adjoining panels under consistent lighting and orientation. For a metallic or brushed finish, rotating one piece can change its appearance relative to the next. Keep the orientation marks linked to the panel numbers and installation layout.
If colour difference is measured instrumentally, the acceptance record needs the agreed colour-difference method and limit. If gloss is measured, it needs the measurement geometry and target range. A numerical result without its method is a weak basis for accepting or rejecting a delivery.
Use a four-panel mock-up to approve direction and joints
Mount four representative panels in a two-by-two arrangement, with the actual joint detail and finish arrows visible on the reverse. Include a formed corner or exposed return where the project has one. A small flat swatch establishes a colour reference; this assembly reveals how direction, edges and joint repetition read together.
| Decision | Review on the assembly | Record on approval |
|---|---|---|
| Direction | Align all four grain or brushing arrows; compare any proposed alternating arrangement separately. | One-way or alternating layout, linked to panel numbers. |
| Joint continuity | View the pattern at horizontal and vertical joints. | Pattern restarts at each panel, or specified continuity/matching. |
| Return coverage | Inspect the exposed corner and its transition to the face. | Which surfaces carry the decorative finish and how it terminates. |
| Viewing conditions | Inspect from the intended direction under agreed lighting. | Viewing distance, lighting, accepted sample and any measured limits. |
For a directional metallic or brushed finish, compare one loose sample at 0° and 180° alongside the reference before fixing the layout. A change with rotation is a useful clue to orientation; it does not by itself establish a colour defect. Restore the agreed direction and compare under the same conditions before deciding whether the batch is acceptable.
Close the approval with dated photographs of the arrangement and an identified physical sample. Photographs record layout and orientation; the retained physical sample remains the appearance reference. Keep any agreed acceptable variation with that sample so later deliveries are not judged against a different expectation.
Separate surface approval from fabrication approval
A finished panel needs two checks. The surface check covers colour, gloss, pattern, texture, visible damage and finish defects. The fabrication check covers face dimensions, returns, curvature, openings and connections. Accepting one does not close the other.
At delivery, use the package labels to group panels by zone, finish and direction. Keep the approved sample available during installation. Where a later replacement is required, provide the original finish and batch information as well as the sample code; order the replacement against the installed appearance and the agreed process.
Write a viewing protocol, not “match as closely as possible”
Record the viewing distance, light source, observation angle and orientation used for acceptance. Review the finish under the intended building lighting as well as the agreed inspection condition. A sample approved under one lamp can appear different next to glazing or under another light source. Screens and phone photographs are useful for discussing layout, but should not replace the retained physical reference.
Where instruments are used, agree the colour space, colour-difference formula, instrument geometry and the treatment of directional or metallic effects. Do not import an arbitrary Delta E limit from an unrelated coating. Gloss and texture also need their own criteria; one colour-difference value cannot describe the entire visual result.
Control anodized appearance through the material schedule
Anodized appearance is influenced by alloy, temper and surface preparation as well as the anodizing process. Identify adjacent sheet and extrusion components during sampling instead of assuming that the same named colour will make different materials indistinguishable. Approve representative pieces of both where they meet on the elevation.
Keep finish and material batches traceable to installation zones. For a visually continuous area, agree batch allocation before production; for future replacements, retain sample IDs and spare panels. A later piece should be assessed against the agreed replacement requirement and actual surrounding appearance, not assumed identical because it carries the original colour code.
Separate the three approval statuses
- Colour selection: identifies the intended appearance but does not release manufacturing.
- Representative sample approval: accepts the process, direction, edges and agreed visual range.
- Production release: connects the accepted sample to the current drawings, quantity and inspection criteria.
When a sample changes, revise the finish schedule and identify affected panels. Keep the superseded sample clearly marked. Otherwise the purchaser, factory and site can each be working against a different “approved” reference.
Keep inspection evidence specific to the finish
Film adhesion, coating thickness and veneer bonding are different acceptance questions. Select the tests that apply to the supplied construction and state them in the order. A paint-film thickness result is not a substitute for a laminate-bond check; a colour approval does not establish a fire classification for a bonded assembly.
For an enquiry, send the retained-sample reference, panel drawing, exposure, quantity and visible-edge requirements. Use the spray, roll and powder coating comparison for painted surfaces, and the shop-drawing checklist to carry the finish direction through to manufacturing and installation.